Friday 30 December 2011

With love autumn leaves card

Second post of the day, for a card that I am really pleased with.


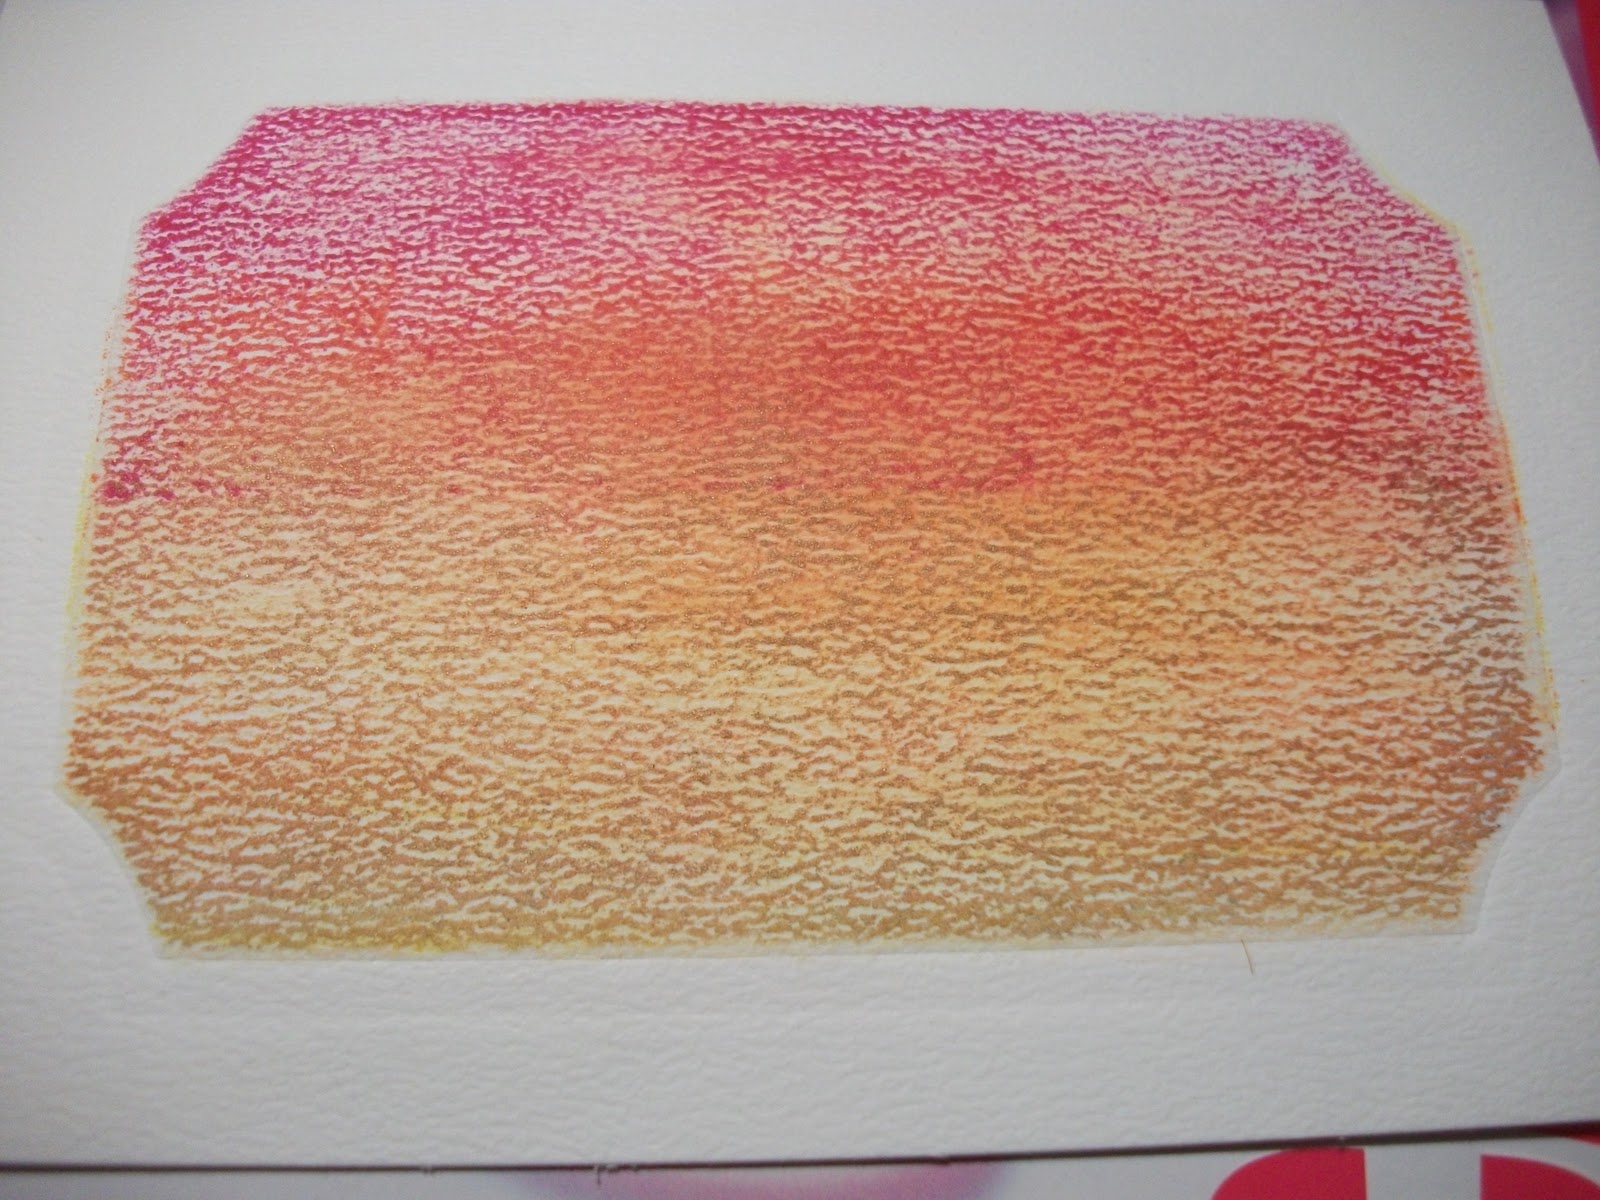
I bought all the leaf stamps recently after seeing some fab autumnal cards and wanting to have a go myself! I embossed leaves and the sentiment using various colours of Distress embossing powder onto various K & Co papers and then cut out. The background is a sort of mirri board - difficult to photograph but it is a tarnished silvery bronze sort of colour (not as bright as silver) and is embossed with a flowery pattern (bought like that rather than embossed at home).

As I was putting the card together to stick down, it didn't quite look 'finished'. The kraft background felt plain so I decided to stamp leaves on to the background, but was worried about it being overpowering. I decided to try a white ink pad which was part of a set and I have never used, and the result was great. It looks completely different depending on the light so changes as you move the card. I've tried to show what I mean in the next two pictures...

 ...white....
....clear....

Isn't that cool?? I love that stamp too - there's something quite elegant about it.

I'm entering into the 4 Crafty Chicks - something new challenge. The new things... all 5 leaf stamps and 4 shades of Distress embossing powder :)

The distress embossing powder is great... but I do all my crafting on the floor and so I end up with sand in the carpet! Such a pain, I have been hoovering for hours today to get it all clean... just in time to get it all out again tonight! Fingers crossed 2012 is the year we move somewhere bigger and I can get a desk!!!

Thinking of you card - hearts and clear embossing resist

This is the first of two posts today after a lovely crafting evening yesterday!

I've been lucky enough to get some brilliant new things in sales, so I've been trying out some new toys and techniques!


I'm not 100% sold on this card to be honest, but I have learnt some lessons from making it. It uses new heart die by xcut, new music note stamp (which was ridiculously expensive but I love!) and is the first time I have used my new speedball brayer, which is a million times better than the hard rubber brayer I have! It also uses new clear embossing powder which I know is going to become a favourite of mine... but having done this card I think in future I will stick with much darker colours when using clear embossing as a resist. Still, you live and learn!

Wednesday 28 December 2011

Customising a diary

My husband was given this diary free recently, after hiring an employee through First Choice. He gave it to me to play with... and play I did :)


The blank canvas...

 ...and the finished article :)


 I started by cutting a deckled rectangle (I cut a piece of thick card first and then glued a nice patterned paper on top for strength).
 I then painted some chipboard and some foam flowers with mustard seed distress crackle paint and a foam butterfly with fired brick distress paint- new today so happy about having a chance to play! The foam and chipboard flowers both came in huge packs from £1 shops. Once the crackle had dried, I rubbed over with distress inks to bring out the cracks.


I then organised and stuck down with a glue gun on to the piece of card. I also added a few other felt flowers which were also £1 shop goodies which sit in the stash! Onec I was happy with the flowers on the card, I blitzed with spray glue and stuck down.

Here's a close up pic of the crackle paint..lovely stuff! Didn't work quite so well on the foam, as you can see on the butterfly, but still gives a nice finish!

I'm not sure how long it will last in my bag which gets thrown around all over the place, but fingeres crossed it won't fall apart too quickly! It was really fun to make - I don't often make things other than cards so it was something a bit different for me!

Entered into the Secret Crafter Anything Goes challenge.

Serious bargains!

I hope everyone had a lovely Christmas and is feeling slightly fatter than they did this time last week! I certainly am! Spent the week reading books, watching films, eating roast dinners... lovely! I've ventured out into the sales a few times since Christmas and got some brilliant bargains... but today... the sale room at Stamp Addicts opened.

I hadn't been to a sale there before, as I only found out it existed fairly recently. I find that the shop is a little too expensive for my very ' thrifty' taste, but I do like to have a wander around and occasionally buy a few of the cheaper clear stamps..

Well the sale room is a whole other place entirely. I was much too well behaved today and may have to return tomorrow to spend some more!

5 jars of Distress Embossing powder and 4 jars of Distress Crackle paint for £1 each - unbelievable! I think I need to go back and buy the rest of the colours, what a mug for not picking them all up today!

Also bought 3 wooden stamps for £1 each (again, why did i not grab more?! there were so many!!! too many to think straight!) and a set of clear stamps for 80p.

I'm also waiting for delivery of a load of really cheap embellishments and a few new dies from Craft Superstore. Maybe they'll come tomorrow?! I never seem to have much luck with delivery from them.

Think I'll settle down to make some cards with my new toys now - feeling very pleased with myself!!!

Sunday 18 December 2011

Inspired to try something new

Second post of the day... I have been busy making today :)

I received this card from some friends recently and loved it. I especially liked the use of an insert as part of the decoration - something new that I hadn't tried before.


I wanted to have a go at creating something similar, and here are my attempts (sorry for the crappy pics, I just can't seem to get it right this weekend!)


 I like the playful feel of this one.. It's bright and feels like spring is coming. I want to enter this one into the following challenges
Scrapbooker's Paradise - Buttons
The Stamp Man - new techniques


This one feels more like autumn to me... pretty and whimsical. I am entering it here
365 cards - Soothing challenge

They were really fun to make. I think I will be making more in different colours - I need a blue one for sure!

Fireworks :)

My friend called me today with brilliant news - she's got a new job. She was made redundant last year and then discovered she was pregnant, and she has been really worried about finding work now that her daughter is a little older. I'm soooo pleased for her - I know how stressed she was and what a weight off her mind this will be!

Looking forward to sending this with all the luck in the world for her start in January.


if you zoom in on the pic you can see the green paper stuck underneath - the black is deliberately on the wonk! And the green is much more vibrant in the flesh - having trouble taking decent photos at the moment.

Congratulations sentiment and one of the fireworks are embossed with added sparkle.

I'm entering this for the following challenges:
Totally Papercrafts - Time to party
Sweet Stampin - Sparkle and bling
Secret Crafter - Celebrations

Friday 16 December 2011

Hugs card

A really quick card for tonight.


The picture hasn't come out great, which is a shame as it makes the card look quite tatty whereas it doesn't look like that at all in person! odd!

I'm sending it to a friend of mine who has made the decision to end her marriage :(

The flower motif is a rub-on transfer on white paper distressed around the edge and then inked with distress ink spun sugar, then backed on a pink piece of cardstock also edged with spun sugar. I scrumpled up a piece of spare card and inked with distress stain victorian velvet, and splodged victorian velvet on to a tag. I then stamped the sentiment on top with dusty conchord and stuck it all down. Easy.

I am disappointed with the photo though! Maybe I'll try one in natural light tomorrow.

I'm entering this into the following challenges
Crafter's Companion - New Beginnings

Thursday 15 December 2011

Cutting CDs with sizzix bigshot... is a bad idea!

In work yesterday, some colleagues were having a clear out and one of the things they were getting rid of was a stack of CDs. I asked to have them, as I have great memories of creating things out of CDs as a child.

So I got home and thought... CDs would make great jewellery. How about cutting it in the big shot? I looked it up online as I had some doubts about how sensible it was to try it... but didn't find anything online to say yes or no... So instead of giving up, I figured - why not give it a go???

Bit stupid really.

I used a sizzix originals die, thinking that they were the most sturdy, and deliberately picked my least favourite in case it didn't work out!

It sort of worked. But I didn't go the whole way through the machine, as it got to a point where it was clearly not going any further. I have already bent my acrylic mats completely out of shape so it does some odd things in terms of the amount of pressure it applies to each part of the paper!

When I took the top acrylic mat off, the whole die bounced out and pieces of broken CD (very sharp!) went disappearing everywhere - oops. The shapes did cut (at least where I had managed to get it through the machine) but some were stuck inside the die.

So my verdict is... bad idea. Although look how great the bit that worked came out - imagine a bit of alcohol ink on there and it would be awesome. I wonder if any of the other die cutting platforms are able to cut through CDs without very nearly breaking???

Sunday 11 December 2011

Two non-Christmassy cards

And final post for today... two non-Christmassy cards. I am so pleased with how both of them have turned out.

The first I've entered into the "Anything but Christmas" challenge at Totally Papercrafts. Making it was the perfect antidote to all the reindeers, Christmas trees and snow! I'm going to send it to my Mum who often needs cheering up.


The black is black sparkle embossing powder. The sparkle doesn't show up in photos (so annoying!) so looks a bit odd, but in real life there is sparkly glitter all around the writing and splodgy black. Here's a slightly better pic...

love those sparkles!


The second card is what I made with the blank I showed in my previous post. I'm really happy with how it turned out - especially as I had a major disaster with this card. I was being impatient and thoughtless, and didn't let the background dry completely before stamping the bird cage and pouring on embossing powder, so when I shook it off... just a huge horrible mess! It took a lot of patience and a very tiny paintbrush to get some sort of birdcage shape back from that mess!


That's all for me today. I've got a work Christmas party tomorrow night and out on Wednesday so I've put all my craft stuff away - otherwise my husband will be tripping over it and cursing me when he gets to work coated in glitter...!

Trying new things

After looking through the Tim Holtz 12 tags of Christmas and browsing through blogs on here, naturally I had loads of new things I wanted to try. Here are some pictures of the outcomes..

Tim was inking acetate for one of his tags, then stamping and blotting the ink away. Well, being impatient, I didn't manage to even wait for the ink to dry on my tag before thinking I know better... though to be fair, the ink was left for a good couple of hours (and even now, 12 hours later it is still wet! I think it may never dry..) So instead of waiting for it to dry, i just stamped into the ink which left uninked bits and looked like this


I'm not sure how it will look when it dries! I already have a card in mind for it, so hoping that it will dry and I can back it with something dark to make it show up well.

I then wanted to have a go at embossing on acetate, having a particular card in mind already with a background I didn't want covered up too much...  I wasn't sure if it would work (or just melt the acetate!) but it came out brilliantly - although I think one of those static dusters would be a good idea in future as there were lots of stragglers which needed moving!


On someone's blog (I can't remember where, or I would credit them - sorry!) they had run a spellbinders die through their machine but without actually cutting the shape, just leaving an imprint. I gave it a go today and managed to find the right sandwich. I've bent my cutting pads (oops) so they don't give exactly the same pressure everywhere, but if I bought some new ones I could see this being a brilliant technique. I've used it on the card blank below, and if you look really close you can see the outline. I then masked the outside and inked up the front with a brayer and various inks, finishing with gold - next post for finished card :) the card blank is textured so it gives a nice wave to the ink - not a nice clear blend!


And finally, the below card is the start of another 'scraps' card, using the aperture cut for a spellbinders shape, and loads of offcuts. I plan to turn this into a 'man card' lol.

Fan card

So here's the first of several posts today, as i have spent most of the weekend creating various bits and bobs :)

This is for a friend's birthday in January. I love it when I make something that has a home to go to - it's rare that it happens that way around!


I made a fan template out of an old cereal box and then cut 6 pieces using the template. The metallic paper is really gorgeous and lovely quality to touch - it's almost silky. I embossed each fan piece and stuck together with a brad. I embossed the card blank and ran a cats eye ink pad over it. It's finished off with a strip of black paper, embossed and rubbed with grey ink, and a black bow (which I hand tied... it took ages to get right!)

I've entered this into the All Sorts Challenge "It takes two" challenge.


I then made this card, below... After making such a dark and dramatic card, I wanted something a little more playful! The background was created by rubbing ink pads across a sheet of paper - it's not a neat finish, but I like it on some cards and I think it works well here. The flowers are shop bought, and the butterflies are a sizzix originals die.


This one has no home as yet.

Saturday 10 December 2011

Thinking of you card

This card is a result of 'leftovers' - and this is one of my favourite ways to make cards. I am naturally a very thrifty person, and it brings me a lot of pleasure to use the odds and ends! My husband laughs at my stash of little tiny pieces of what he would describe as 'crap' lol.


The stamp is from a honey n hugs set, and is embossed with black sparkle powder - you can't see the sparkle very well in the picture but it's very glittery!

This card was so quick and easy to make, but i love it and have made several others in similar styles. Just need to send them now!

I've entered this card into the "Things with Wings" challenge at Sweet Stamping and the "All Creatures Great and Small" challenge at the Secret Crafter. This is the first challenge I've entered... so please be gentle with me!

Love card, inspired by Tim Holtz 12 tags of Christmas

I was looking through the 12 tags of Christmas stuff yesterday, and there were a few ideas I fancied trying myself. I love Tim Holtz stuff, but very rarely do I attempt the 'grungy' look. It feels like a look that can easily go wrong! But I have proved myself wrong with my latest creation, I'm really happy with my first attempt at the world of grunge! It's a place I definitely see myself returning to!


On the card blank, I held the largest ticket shaped die on the blank itself as a mask and dabbed all over the card with a red cats eye ink pad. I then used the Tim Holtz circles embossing folder.

Cut outs of two more ticket shapes - the smallest one on a red/orangey coloured paper and the bottom on a dark yellow paper.

Big ticket: I dabbed all over with a red cats eye ink pad and sprayed with water, then dried with a heat gun. I then rubbed an embossing ink pad over the bottom of the ticket roughly, covered in copper embossing powder and heated.

Smaller ticket: I brayered with distress ink (dusty conchord) and then sprayed with water and dried with a heat gun. I then stamped with a clear stamp which came free on a magazine (it said "love you" originally but I cut it in half as I think I'll have more use for 'love' than 'love you'!) in black ink and once dry, covered in Anita's 3D gloss.

Finally, the embellished circles and butterflies are a sizzix original die. The circle, I embossed with white embossing powder, the ring I covered in embossing ink and dried (made it go almost see through, looks really cool in real life!) and then splodged a little distress ink. The butterfly, i pushed just the middle part into distress ink and then covered in black sparkle embossing powder (you can't really see the glitter in the pic, but it's very sparkly!)

Stuck it all together (roughly, most of the pieces aren't stuck down completely as I like the way it looks crinkly and naturally shaped), and voila :)

Wednesday 7 December 2011

Christmassy cards

I've finished writing and enveloping all my Christmas cards now... started making them months ago, and with one final push this week, I've done them all :)

Here are just a few of my creations which I've entered into the St Luke's Charity Challenge. I'll be having a look through my pile of cards and sending some away to help raise money for this brilliant cause.

I've been getting into embossing powders in a big way, but still a little bemused about which papers/inks work best... I seem to have one particular ink pad (colour best described as "snot green") which stays wet for hours. The others seem much drier, even though they were bought at the same time and are the same company! I have invested in an embossing ink pad though which is more like glue... and that is how I made this one below:

 Tim Holtz embossing folder

Embossing ink pad splodged across most of the page and covered with Tinsel Snowflake papermania embossing powder - I scraped across the page a bit with the palm of my hand to dislodge some of the powder and make sure the embossing was very textured rather than smooth.
Snowflakes stamped on the red shape (sizzix tickets die) in red for detail
Noel stamp and edges embossed in white.


 I like this one for the simplicity of it... a couple of pieces of stash paper cut into rectangles, with a sizzix die cut out, edged with a silver pen and stamped christmas images finished with some silver detail and purple gems. This one is for my sister who loves purple things.


The light hasn't done justice to the glitter in this card.
Dotty embossing folder (LOVE this one!) on a sizzix ticket die.
Snowflakes stamp and tinsel snowflake embossing powder, also tinsel snowflake along the bottom.
Noel stamp embossed with papermania black sparkle powder.
Finished with some framing and a shop bought robin. The robin has some lovely sparkle too - can you tell I'm a glitter lover?!


And finally... nestabilities long deckled rectangles die with the dotty embossing folder, edged in a grey/blue chalk fluid ink.
Some snowflake paper from the stash, with Anita's clear gloss dotted on (love that stuff).
A Merry Christmas sentiment (actually cut from a piece of paper stash) and a reindeer die cut.

I've really enjoyed making these... I've done about 30 different cards in total, and it's been a lot of fun... but I am looking forward to making cards which aren't for Christmas again! Trouble is, I have such a huge stash of cards for birthdays, thank yous etc, I need to send more!